Install your Cloud Telephony or Hosted PBX system following these easy steps:
STEP-1 : Dial.Cheap Registration
Click on this link to go to the Dial.Cheap Registration web page Dial Cheap Registration link
Before you click on this link read this post untill the end.

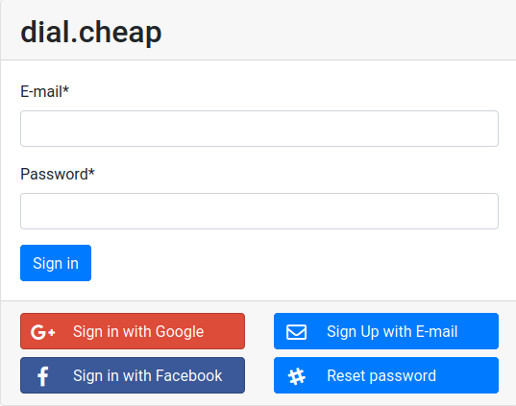
STEP-2 : Make an account with us
Sign in using your Facebook or Google account or sign up using your email address.
Follow the on screen instructions
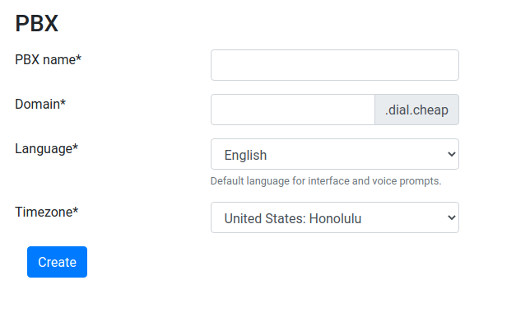
STEP-3 : Fill out the next screen as follows

PBX name = Choose any name you like for your Hosted PBX
Domain = Fill out any unique name to register your own domain name
Language = Select the appropiate language for your Customer interface
Timezone = Fill out the Timezone in which you prefer to work
Press Create when ready
Redo this operation when the selected Domain Name is not unique.
STEP-4 : You are finished and ready to configure. Your Dashboard has several menu options each described in their own Blog post.

Endpoints = Link to Endpoints Blog Post
Incoming Numbers = Link to Incoming Numbers Blog Post
Ringgroups = Link to Ringgroups Blog Post
Finance = Link to Finance Blog Post

